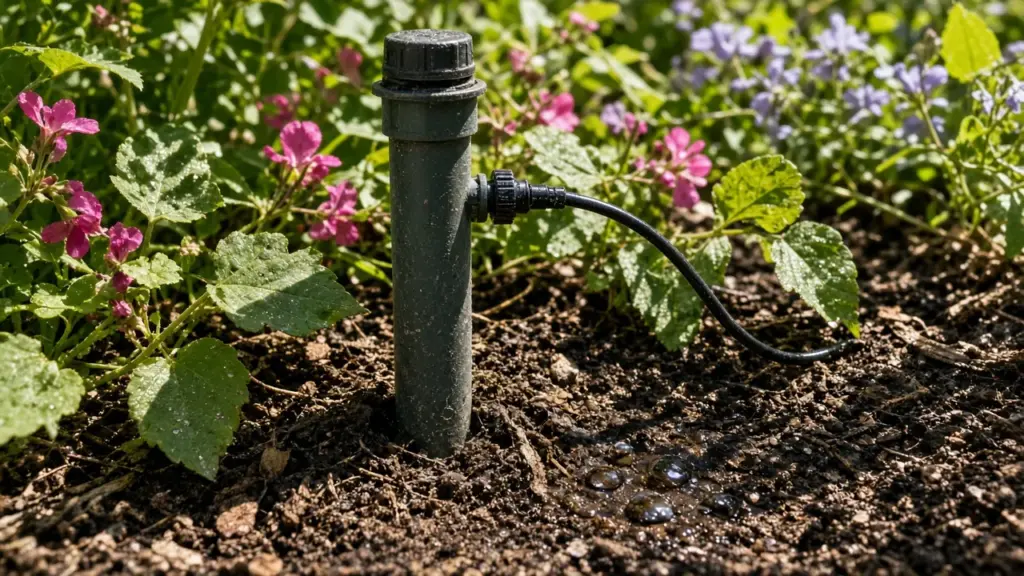
Many Dallas sprinkler systems were installed with spray heads everywhere, including flower beds, shrub borders, and foundation plantings. Spray heads in beds waste water through overspray and evaporation, soak walls and walkways, and struggle once shrubs grow tall enough to block the spray. Drip irrigation solves these problems by delivering water directly to the soil at each plant.
Adding drip to an existing system is one of the most practical upgrades you can make. This guide covers the main approaches, the components you need, and how to schedule drip zones under Dallas rules.
Why Add Drip
- Efficiency: water goes into the root zone with little evaporation or overspray.
- No wet walls or walkways: drip keeps water in the bed.
- Better for shrubs and perennials: water reaches roots regardless of foliage.
- Flexible scheduling: Dallas allows drip irrigation on any day, while automatic sprinklers are limited to two assigned days.
- Less disease: keeping foliage dry can reduce some plant diseases.
Option 1: Add a New Drip Zone
The most flexible approach is adding a dedicated drip zone with its own valve. This involves:
- Tapping into the mainline near the valve manifold or another convenient spot.
- Installing a new valve for the drip zone.
- Adding a filter and pressure regulator after the valve.
- Running supply tubing to the beds.
- Running a wire from the valve to an open station on the controller.
This gives the drip zone its own schedule, which matters because drip run times are much longer than spray run times.
If the controller has no open stations, an expansion module or a larger controller may be needed.
Option 2: Convert an Existing Spray Zone
If a zone already serves only beds, you can convert the entire zone to drip:
- Install a filter and pressure regulator at the valve outlet or at the start of the drip section.
- Cap or convert spray heads.
- Connect drip tubing to the existing lateral pipe using adapters.
- Lay tubing through the beds.
This reuses the existing valve and pipe. Our guide to converting spray zones in flower beds to drip explains conversions in detail.
Option 3: Convert Individual Heads
For a small bed on a mixed zone, drip conversion kits replace a spray head with a fitting that includes a filter and pressure regulator and connects to drip tubing. This is quick, but the drip area runs on the same schedule as the rest of the zone, which may not suit either the lawn or the bed. It works best for small areas.
Essential Components
- Filter: keeps debris out of emitters. Drip emitters have tiny passages that clog easily.
- Pressure regulator: reduces pressure to the level drip requires.
- Supply tubing: carries water through the beds.
- Emitters or inline drip tubing: delivers water to plants.
- End caps or flush valves: allow the lines to be flushed.
Our guide to drip filters and pressure regulators explains how these work.
Inline Tubing or Individual Emitters
- Inline drip tubing has emitters built in at regular spacing. It works well for dense plantings, groundcovers, and hedges.
- Individual emitters inserted into solid tubing suit widely spaced shrubs and trees.
Many beds use both.
Trees
Trees benefit from drip rings or multiple emitters placed around the root zone, not just at the trunk. As trees grow, expand the ring outward. Our guide to watering trees with drip rings and bubblers covers tree setups.
Foundation Beds
Drip in foundation beds helps keep soil moisture consistent, which matters in Dallas clay. Dallas allows foundation watering on any day and at any time using a hand-held hose, soaker hose, drip irrigation, or bucket. Our guide to drip irrigation for foundation beds covers layouts.
Scheduling Drip
Drip applies water slowly, so run times are longer, often much longer than spray zones. Tips:
- Put drip on its own program.
- Water deeply and less often rather than daily for most beds.
- Check soil moisture a few inches down after a cycle.
- Adjust by season.
Containers are an exception and often need frequent watering in summer. Our guide to container and planter drip systems covers containers.
Common Mistakes
- No filter, leading to clogged emitters
- No pressure regulator, leading to blown fittings
- Drip and spray on the same zone, making scheduling impossible
- Too few emitters for large shrubs
- Tubing left exposed to sun and damage
- Forgetting to flush new lines
Covering Drip With Mulch
Cover drip tubing with mulch to protect it from sunlight, reduce evaporation, and keep beds neat. Check periodically that mulch has not washed away.
Maintenance
- Clean filters a few times a year
- Flush lines periodically
- Check emitters for clogs
- Adjust emitters as plants grow
- Repair damage from digging or animals
Planning the Upgrade
- Identify beds, trees, and containers that need drip
- Decide between a new zone, a zone conversion, or head conversions
- Check controller capacity
- Choose tubing and emitters
- Install filter and pressure regulator
- Lay tubing, flush, and cap
- Mulch over tubing
- Set a separate drip program
Where to Tap In
The best place to connect a new drip zone depends on the system layout. Tapping the mainline near the existing valve manifold keeps valves together and makes wiring easy, since the controller wire bundle is already there. For beds far from the manifold, a new valve closer to the beds shortens tubing runs but requires running wire. Either way, the tap belongs on the mainline, downstream of the backflow preventer, so the drip zone shares the system’s backflow protection.
On older systems, the mainline may be hard to locate. Tracing it from the backflow preventer to the manifold with a probe or by careful digging is the usual first step.
Estimating Water Needs by Plant
Plants in a single bed can have different needs. Large shrubs use more water than small perennials, and sun-exposed plants use more than shaded ones. Drip lets you match water to each plant by changing emitter flow or number:
- Give large shrubs several emitters spaced around the root zone
- Give small plants a single low-flow emitter
- Use inline tubing for dense groundcovers
- Group plants with similar needs when planting
This flexibility is one of drip’s biggest advantages over spray.
Checking the Work
After installation, run the zone and walk the beds. Confirm each emitter drips, look for spraying fittings, and check the end of each line for adequate flow. The next day, check soil moisture near several plants. If some plants are dry, add emitters; if the soil is soggy, shorten the run time. Our installation and retrofit guide covers other system upgrades.
Winter Care
Drip components above ground, such as filters and regulators, can crack in a hard freeze. Before a freeze, shut off water to the system and drain or insulate exposed drip parts.
Frequently Asked Questions
Can I add drip irrigation to my existing sprinkler system?
Yes. You can add a new drip zone, convert an existing spray zone, or convert individual heads with conversion kits.
Do I need a filter and pressure regulator for drip?
Yes. Both are essential to prevent clogs and protect drip components.
Can drip and spray heads share a zone?
It is best to keep them on separate zones because drip needs much longer run times and lower pressure.
Can I run drip irrigation any day in Dallas?
Yes. Drip irrigation is allowed on any day. Automatic sprinklers are limited to two assigned days.
Get Help Adding Drip
We add drip zones, convert spray zones, and install drip for trees and foundation beds. See our irrigation services, or contact us to schedule.
Request Service or call 214-227-7444
We serve homes throughout Dallas and nearby North Texas communities.